Waiting for your car battery to die is unacceptable even when there was a way to determine the battery’s life span. Using a multimeter will save you time and money and tell you everything you need to know about your car battery. We will show you how to test a car battery with a multimeter.
Don’t be stressed about having to call for a tow truck because you let your car battery die. Or pay a lot of money to go to a mechanic and have them tell you the same information you would get from using a multimeter yourself.

What’s a Multimeter
A multimeter is a device that measures the voltage inside your car battery, letting you know how much power is still stored within the car battery.
Bad Car Battery Symptoms
If you experience any of these symptoms, you should consider investing in a multimeter to access your car battery’s damage and find out how much power is within the battery.
- Check battery light is on
- Engine is cranking slowly or not cranking at all
- There’s clicking when the engine turns on
- The battery seems weak or is dead
- Headlights are not as powerful
All these indicators show that you may have a bad battery so, if you’re experiencing these symptoms it’s time to learn how to test a car battery with a multimeter. It’s really not difficult, just follow the steps below…
| BONUS TIP: If you don’t have a multimeter, check it on Amazon and buy one for a price as low as $10 |

How to Test a Car Battery with a Multimeter
To test your car battery with a multimeter, you will need to follow these steps:
STEP 1: Turn on Your Headlights
When you get in your car, you need to turn your key to the on position and turn on your headlights.
You will need to leave your headlights on for about 2 minutes so it can get rid of any surface charge the car battery may still have.
Keep in mind to not turn on your car engine. All you need to do is to turn your headlights on. If you turn your engine on, then the multimeter might give you a false reading.
The same applies if you recently used your car for a drive and you turn off your engine. Your car needs to be sitting for at least an hour without being used. If not, the car battery can still hold on to a charge from the alternator.
STEP 2: Check for Signs of Corrosion
The next step will check your battery for any signs of corrosion that was built up.
You will only need to do a quick inspection of the terminals. You need to be on the lookout for any type of white or yellow crust residue on the terminals’ metal parts.
If you see this type of corrosion, then it might interfere with the reading of the battery. This might also be the cause of your problems if you don’t clean out the corrosion.
To clean the corrosion, grab a terminal brush and start brushing off the residue.
If this does not work, take out the terminals and soak them with baking soda and water for at least 10 minutes and then brush the residue off.
Once the residue is off, you can go ahead and start the next step, but if there was no residue, to begin with, then you can skip this step as well.
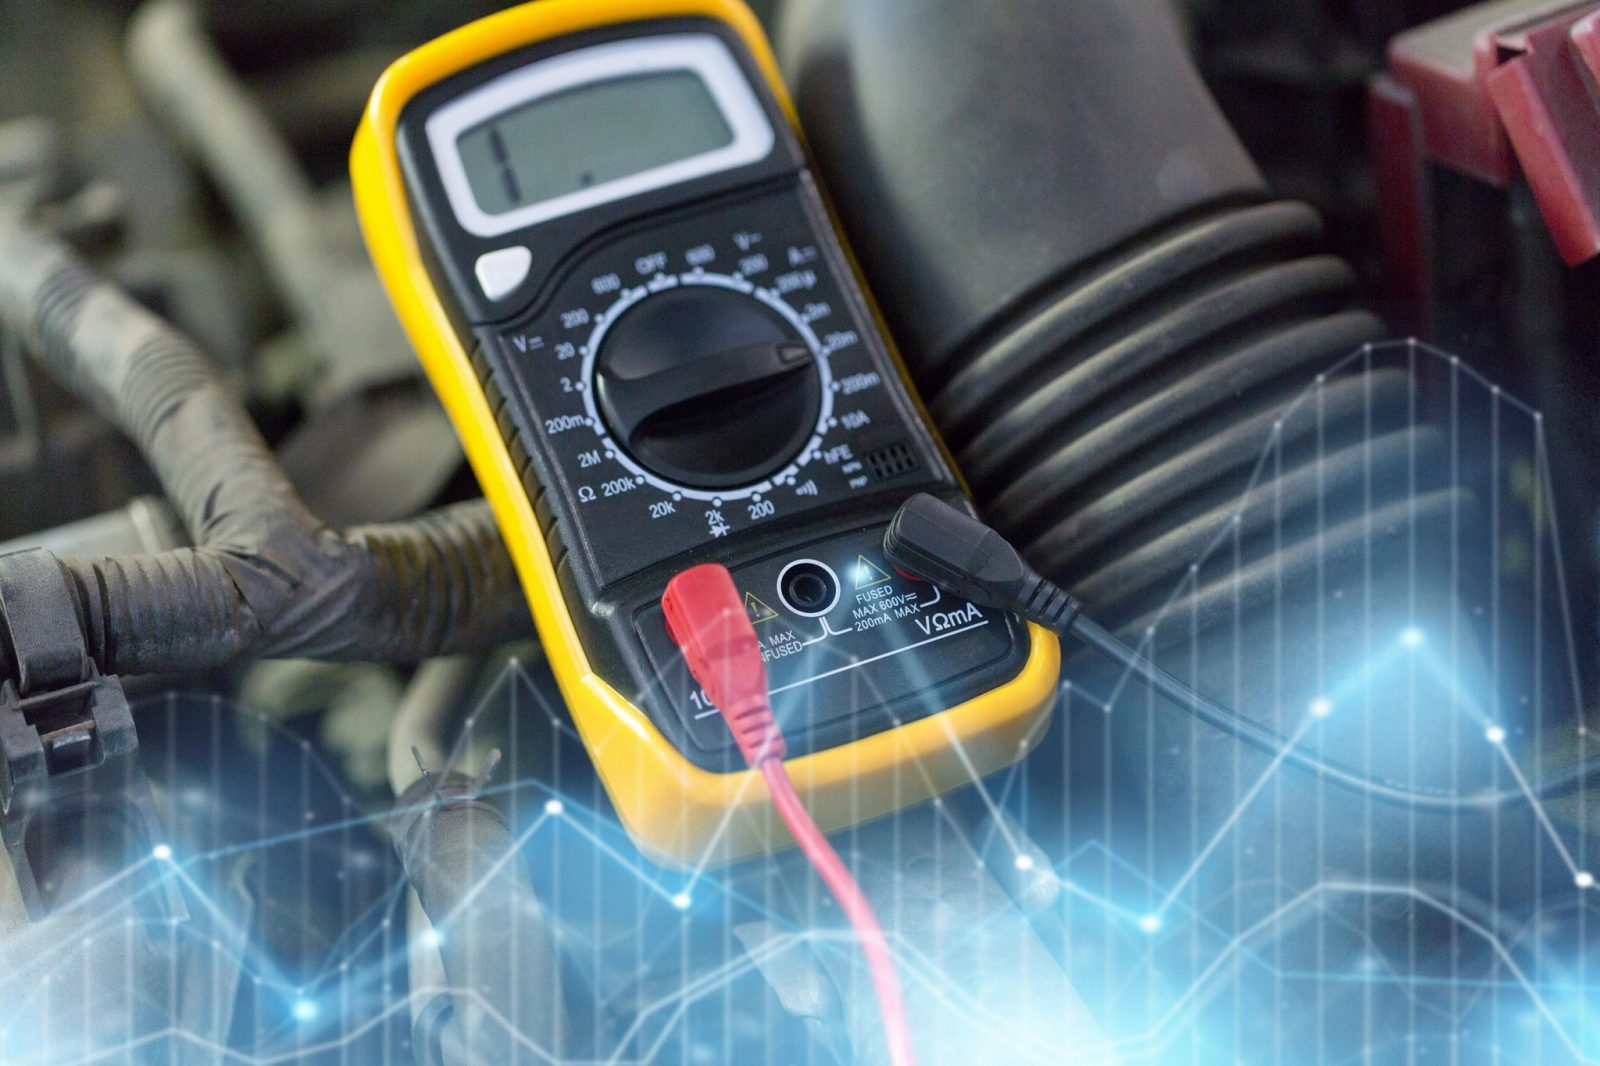
STEP 3: Set Up the Multimeter
Once your battery is clean, and no type of residue or corrosion is on the battery, you can use your multimeter.
You will need to adjust the voltage of the multimeter to about 15-20 DC volts. Once you set the voltage, you may turn off your headlights.
Never drop the voltage on the multimeter anywhere below a 15 nor should you ever put the AC current on when using the multimeter. You should only be measuring DC.
STEP 4: Connect the Multimeter
The multimeter will have two probes that you will be able to connect to the battery terminals.
One probe will need to be hooked up to the negative terminal and for the most part, the probe will be black in color.
The other probe will be red, and you will need to connect it to the positive terminal. It’s very important not to switch the probes because it may cause an inaccurate reading.
STEP 5: Check on the Multimeter
Once the multimeter is connected, you will need to read what the volts are on display.
A car battery that is fully charged will measure 12.5 to 12.6 volts.
If the battery is cold, then the multimeter might read the volts as a lower number.
At 30 degrees you can expect the multimeter to read 12.58 and if you have the car battery working at 75% charge, then the volts will be around 12.45.
Any volt below 12 volts signifies that your battery is not working the way it should be working.
If your car battery shows that it has a voltage of 12.3 volts or 12.5 volts, it’s recommended to charge your battery.
STEP 6: Turn on Your Car
If possible, turn on your car, and if you can’t, then ask someone to assist you with turning on the car.
With turning your car on you must still have the multimeter attached to the car battery so it can still give a reading.
The multimeter voltage will now change due to the car being on, but it should not go below 10. If it does, then that means your car battery is not producing the necessary voltage for your car to work properly.
If the battery is dropping below a 10 then you may need to consider getting a new battery.
However, if everything is reading fine, then you don’t need to do anything else to your car, and you’ve learned how to test a car battery with a multimeter.