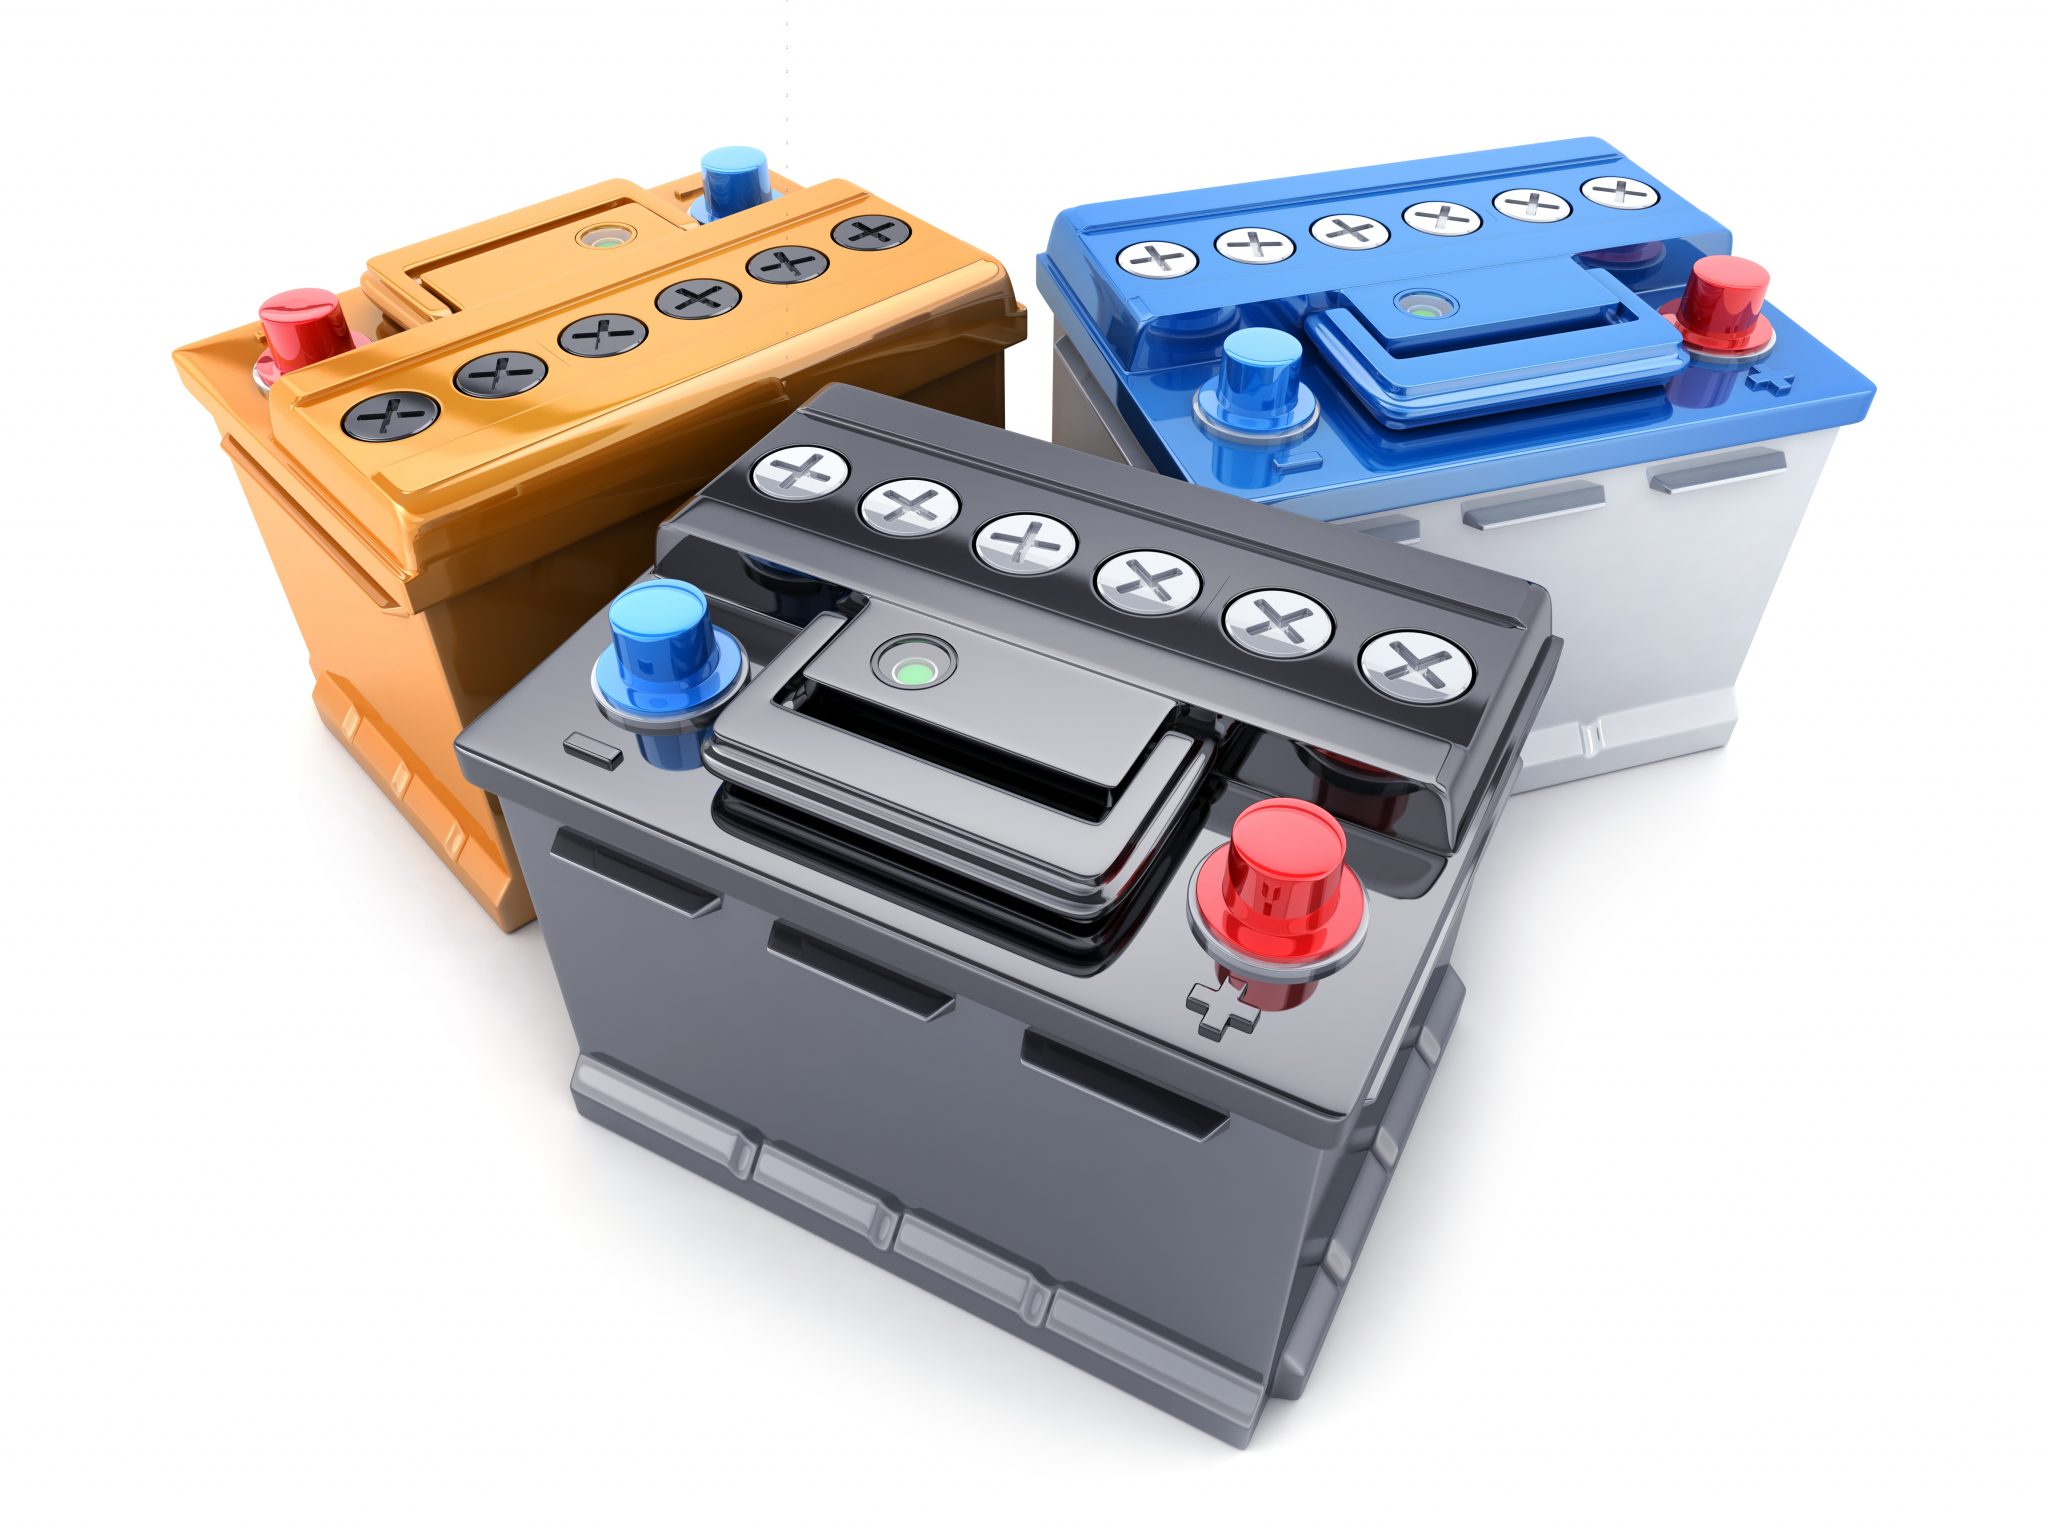
From time to time, you’ll need to replace batteries for garage door openers the same way as you will any other kind of battery. Changing the batteries is a fairly straightforward process, but one that can be time consuming. It’s a good idea to get familiar with the signs that you need to replace your garage door battery so that you can properly prepare for the time to come.
How To Tell Your Garage Door Opener Batteries Are Dead
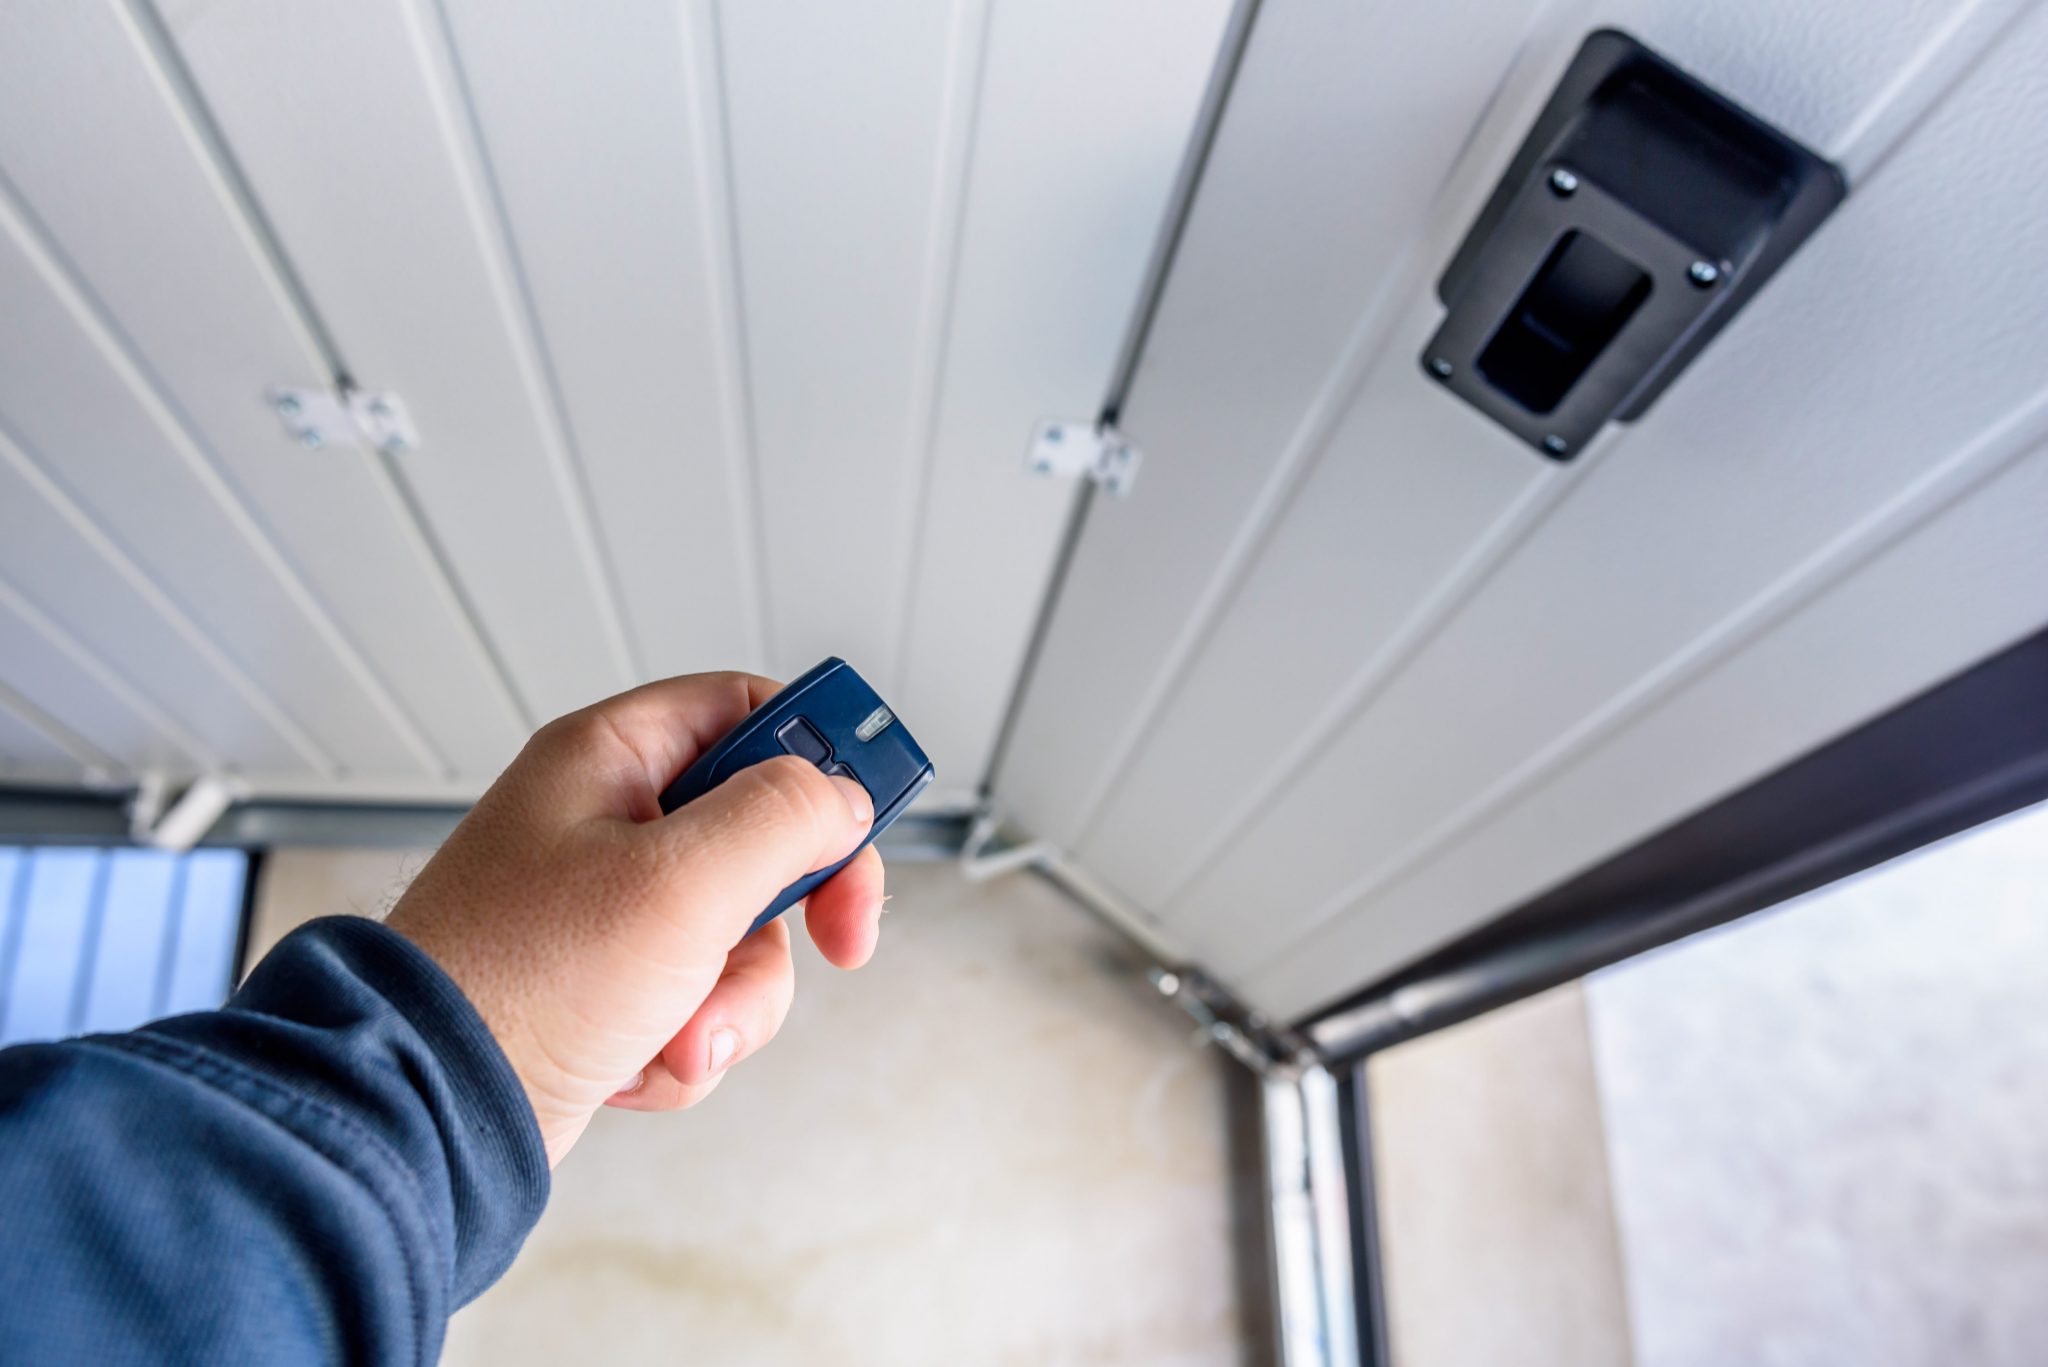
There are several easy ways to tell if your battery is dead. Just check these few steps below.
– Inconsistent operation. After you press the button on the garage door opener remote, you may notice that the door only occasionally wants to respond. This usually indicates a dying or weak battery.
– Stuck doors. Once you begin to notice that your garage door is refusing to open or close, this could indicate that the batteries are dead.
– Functioning wall mount controls. When determining whether or not it’s time to replace the batteries, try to raise and lower the door using only the wall-mounted control box. If it opens and closes easily when prompted by the controls on the wall, you should replace the transmitter batteries and see if it responds to the remote control afterward.
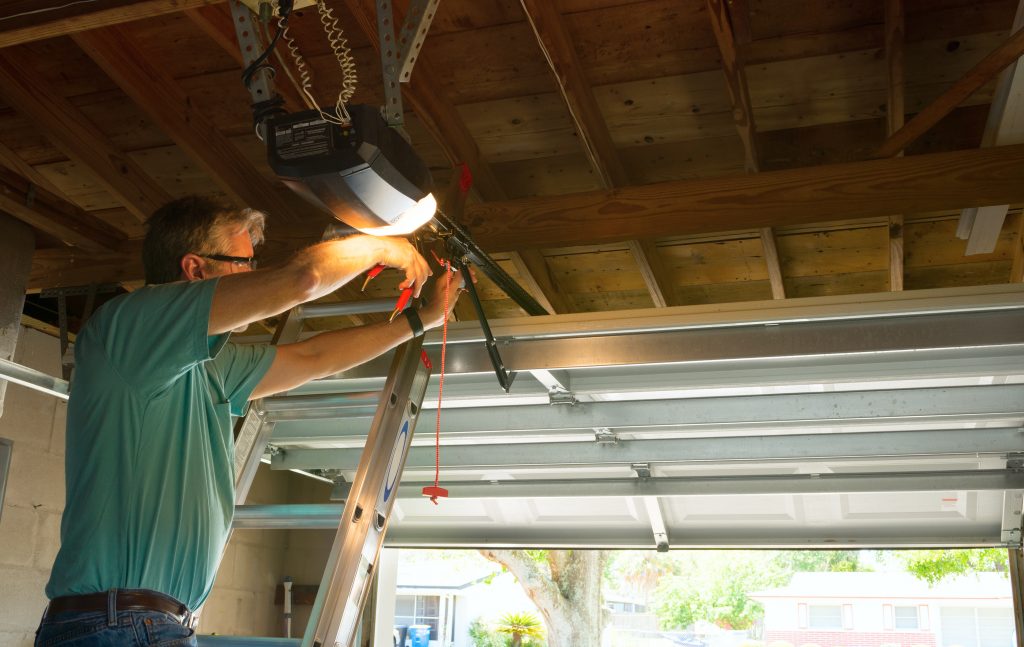
How To Replace Your Garage Door Opener Battery
When running the above tests every year or two, you will eventually detect a weak battery that needs changing. Below are the steps that you can take to accomplish this. To do so, prepare by wearing gloves and protective eyewear, and then grab a screwdriver to get started.
- Unplug the garage door opener from the power source. This will prevent the risk of getting a zap.
- Open up the light lens. You will find the battery underneath the lens.
- Using a screwdriver, remove and lift away the cover of the battery compartment.
- Take the dead battery out of the compartment. Be sure that you disconnect both the black and red wires from the battery.
- Connect the black and red wires to the new replacement battery. Take extra care to ensure the black wire is connected to the black terminal and that the red wire is connected to the red terminal.
- Place the new battery into the battery compartment.
- Secure the battery compartment lid in place using a screwdriver. While doing so, ensure the battery wires aren’t sticking out of the compartment or otherwise stuck.
- Plug the garage door opener back in.
Testing and Charging the New Battery
Once the battery is replaced, you should see a green flash on the LED indicator that will tell you the battery is charging. Expect it to take about 24 hours before the battery is fully charged. Once completed, the still will stay green. Test that the new battery is working by trying to open the door using the remote or the door control on the wall. The LED will glow orange, which indicates the door is running on battery power. Simply plug the garage door opener back in to finish the installation and testing process.
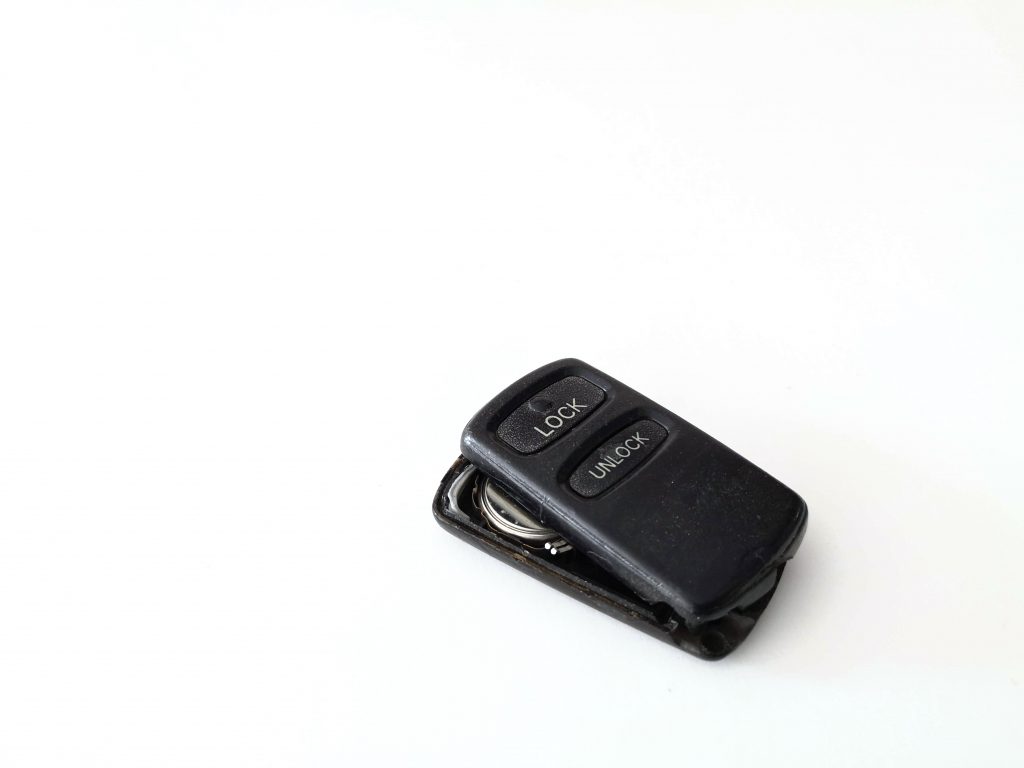
Replace Batteries for Garage Door Opener Remote
Also, you might want to replace batteries for garage door opener remote or your garage door opener Keypad at the same time. Just to do everything right when you are doing the work with replacing batteries.
Consider Buying New Garage Door Opener
If you have problems with your garage door opener or you have a very old model, you might consider buying yourself a new one. There are really some great new garage door openers on Amazon right now with some excellent new features and options. Check it out HERE.
RELATED ARTICLES